Your WordPress header is the first thing visitors notice, making it a key element in shaping their experience. Customizing it with two lines of text can highlight important details like a catchy tagline, contact information, or a call to action.
But how do you add a second line of text without disrupting the design or functionality of your site? Whether you’re using a theme with built-in options or need a custom approach, there are multiple ways to achieve this.
In this guide, we’ll walk you through five easy methods to add 2 lines of text in WordPress Header. From using the Customizer and widgets to modifying theme files and leveraging plugins, you’ll find a solution that fits your needs. Plus, we’ll share helpful tips to keep your header visually appealing and responsive across all devices.
Let’s explore how to enhance your WordPress header with simple yet impactful text customization!
Why Add 2 Lines of Text in WordPress Header?
You might be wondering why adding two lines of text to your WordPress header is beneficial. The answer depends on your website’s goals and the information you want to highlight. Here are some common reasons:
- Promotions: Running a sale, launching a new product, or offering a discount? Adding a second line of text allows you to showcase important updates right at the top.
- Unique Branding: A tagline alongside your site title can reinforce your brand’s message, helping visitors understand what your website is about at first glance.
- Providing contact information: Displaying a phone number, email, or address in the header makes it easy for users to reach out without searching for your contact page.
- Navigation Enhancements: Some websites use an extra line to include social media links, call-to-action buttons, or other interactive elements that improve user engagement.
Adding an extra line of text to your WordPress header makes it more informative and functional while maintaining a professional look.
The Best Practices for Creating Two-Line Headers in WordPress
Before adding two lines of text to your WordPress header, follow these best practices to maintain a clean design and improve user experience.
- Keep It Simple and Clear
A cluttered header can confuse visitors. Stick to a straightforward title and tagline that communicates your brand’s message and purpose. Avoid adding unnecessary elements that distract users from the main content.
- Choose Fonts That Work Well Together
The font selection plays a crucial role in making your header visually appealing. Use a bold, attention-grabbing font for the title and a lighter font for the tagline to create contrast. If you prefer a consistent style, opt for different font weights within the same typeface.
- Optimize for Mobile Devices
A well-designed header should look good on all screen sizes. Test your two-line header on mobile devices to ensure it doesn’t appear too large, misaligned, or cluttered. Adjust the font size and spacing so that it remains readable and visually balanced on smaller screens.
- Maintain Proper Spacing and Alignment
Spacing affects readability and aesthetics. Keep enough padding and line height between the two lines of text to prevent them from looking cramped or disconnected. Proper alignment (center, left, or right) should match your website’s overall design.
- Use Colors That Enhance Readability
Your header text should stand out against the background. Choose contrasting colors to make the text easy to read. If your header has a background image, add a subtle overlay to improve text visibility.
By following these best practices, you can create a well-structured, visually appealing two-line header that enhances your website’s branding and readability.
5 Easy Methods to Add 2 Lines of Text in WordPress Header
Now, let’s go over the different methods to achieve this.
Method #1: Use HTML to Add 2 Lines of Text in WordPress Header
If your theme’s Customizer lacks advanced options or you want more control over your header text, using HTML is a practical solution. This method allows you to format and style your header text exactly how you want, even if it requires a basic understanding of HTML.
Here’s how you can use HTML to add two lines of text to your WordPress header.
- Access the WordPress Customizer: Start by navigating to your WordPress dashboard. Go to Appearance > Customize to open the Customizer. Open the home page in the Gutenberg Editor and edit the header of the site using an HTML block.
- Insert HTML Code: Select the HTML block, use HTML tags to format your text. For example:
First Line of Text <br> Second Line of TextThe <br> tag creates a line break, splitting your text into two lines. If you want to style the second line differently, you can use the <span> tag with custom CSS.

- Preview and Save Changes: After adding the HTML code, check the preview to see how the header looks. If everything appears as expected, click Publish to save your changes.
Using HTML gives you the flexibility to customize your header text beyond the limitations of the theme’s default settings. You can also add additional HTML elements like links, icons, or inline styles for a more personalized look.
Pros and Cons of Using HTML
Pros
✅ Complete Control: You can customize the appearance of your header text, including font size, color, and spacing, by adding inline styles or CSS.
✅ Flexibility: HTML allows you to break text into multiple lines and incorporate additional elements like links or icons.
✅ Theme Independence: This method works even if your theme doesn’t natively support multi-line text in the header.
Cons
❌ Requires HTML Knowledge: You need a basic understanding of HTML to use this method effectively.
❌ Theme Compatibility Issues: Some themes may not support custom HTML in the Site Title or Tagline fields, limiting your options.
For those comfortable with HTML, this method provides the most customization and control over your header text. If you’re looking to create a unique and visually appealing header, using HTML is a powerful option.
Method #2: Use Any Page Builder Plugin to Add 2 Lines of Text in WordPress Header
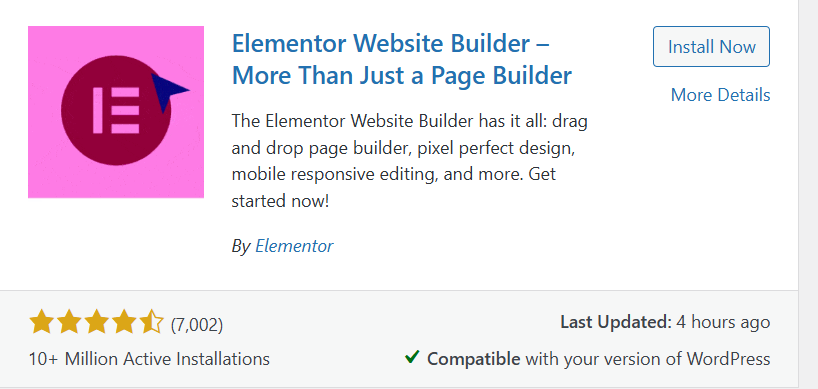
If you want complete control over your header layout, page builder plugins like Elementor, Beaver Builder, or Divi offer a powerful solution. These plugins let you design custom headers with multiple lines of text, images, buttons, and other elements—without writing any code.
1. Install and Activate a Page Builder Plugin
- In your WordPress dashboard, go to Plugins > Add New.
- Search for your preferred page builder, such as Elementor, and click Install Now.
- Once installed, click Activate to enable the plugin.

2. Create a Custom Header Template
- Navigate to Templates > Theme Builder > Header in Elementor (or the equivalent section in your chosen page builder).
- Click Add New to create a custom header template.
3. Add and Customize Text Elements
- Use the drag-and-drop editor to insert text widgets into your header.
- Add two separate text elements—one for the site title and another for the tagline.
- Customize the fonts, colors, spacing, and alignment to match your website’s design.
4. Save and Publish the Custom Header
- Once satisfied with the layout, click Publish to apply the custom header to your website.
- Check your site to confirm that the header displays with two lines of text.
Pros and Cons of Using a Page Builder Plugin
Pros
✅ Full Design Control – Customize fonts, colors, and layouts without coding.
✅ Beginner-Friendly – Drag-and-drop functionality makes it easy to use.
✅ Supports Advanced Elements – Add buttons, images, and animations to your header.
Cons
❌ May Affect Performance – Some page builders can slow down your site.
❌ Premium Features May Require Payment – Advanced customization options often require a pro version.
A page builder plugin is a great way to design a fully customizable WordPress header with two lines of text. This method is one of the best options if you want complete creative freedom without modifying code.
Method #3: Use a Plugin to Add 2 Lines of Text in WordPress Header
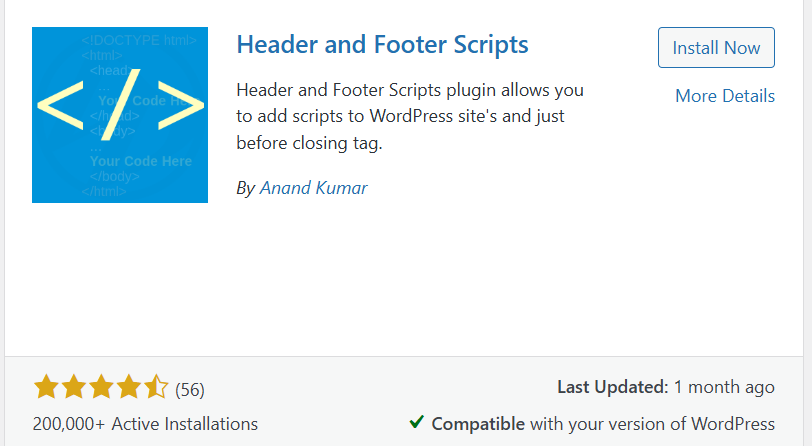
If you don’t want to modify theme files or write code, using a WordPress plugin is the easiest way to add two lines of text to your header. Several plugins allow you to insert custom text without altering your theme. One of the most popular options is Header and Footer Scripts.
1. Install and Activate the Plugin
- In your WordPress dashboard, go to Plugins > Add New.
- Search for Header and Footer Scripts and click Install Now.
- After installation, click Activate to enable the plugin.

2. Add Custom Text in the Header Section
- Navigate to Settings > Header and Footer Scripts in the WordPress dashboard.
- In the Header Scripts section, enter your text.
To display text on two lines, use HTML formatting:
<h1>First Line of Text</h1>

<p>Second Line of Text</p>
3. Save and Preview Changes
- Click Save Changes to apply your modifications.
- Open your website to check how the text appears in the header.
Pros and Cons of Using a Plugin
Pros
✅ Beginner-Friendly: No coding or file modifications are required.
✅ Quick and Efficient: It takes only a few minutes to set up.
✅ Safe for Theme Updates: Your changes remain intact when the theme updates.
Cons
❌ Limited Customization: Plugins may not provide as much design flexibility as direct code modifications.
❌ Potential Plugin Conflicts: Some plugins may not be compatible with all themes or other installed plugins.
Using a plugin is a simple and effective way to add two lines of text in the WordPress header, especially if you prefer to avoid coding. However, if you need more customization options, other methods like modifying a child theme or using HTML might be better suited.
Method #4: Child Theme to Add 2 Lines of Text in WordPress Header
If you want full control over your header layout, creating a child theme is the best approach. This method allows you to modify the header structure without affecting the original theme files, ensuring that future updates won’t overwrite your changes. While this method requires some knowledge of WordPress theme files and PHP, it offers the most flexibility for advanced customization.
1. Set Up a Child Theme
- A child theme lets you make changes without modifying the main (parent) theme.
- You can manually create a child theme by adding a style.css and functions.php file, or use a plugin like Child Theme Configurator to generate one.
2. Locate and Edit the Header File
- In your child theme directory, find the header.php file.
- If your child theme doesn’t have this file, copy it from the parent theme and paste it into the child theme folder.
3. Modify the Header Code
- Open the header.php file and locate the code that displays the site title and tagline (usually inside a <header> or <div> element).
- Modify the code to add two lines of text using HTML like this:
<h1><?php bloginfo('name'); ?></h1>

<p><?php bloginfo('description'); ?></p>- This will display the site title on the first line and the tagline on the second line.
4. Customize with CSS
- To improve the appearance, add CSS styles in the style.css file of your child theme:
h1 { font-size: 28px; font-weight: bold; }

p { font-size: 18px; color: #555; }- Adjust font size, color, spacing, or alignment based on your design preferences.
5. Save and Upload the Changes
- Save your modified header.php and style.css files.
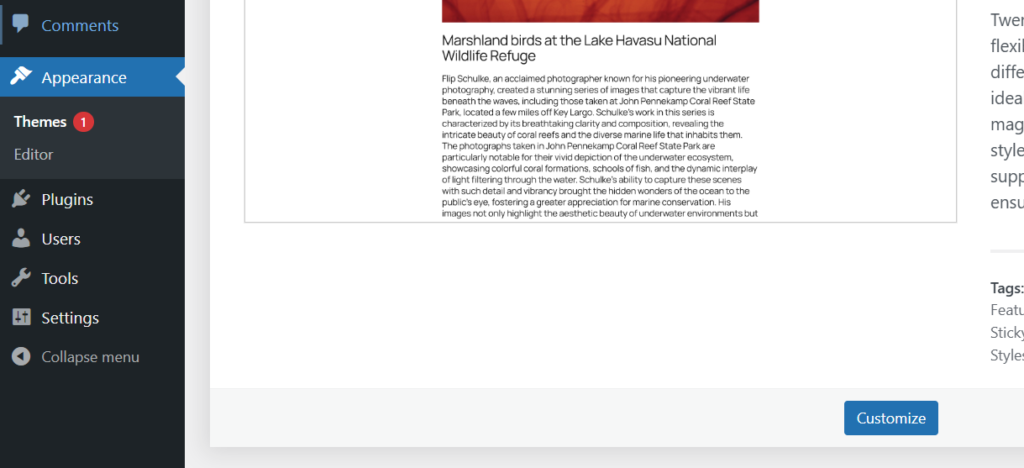
- Upload the child theme to your WordPress site and activate it under Appearance > Themes.
Pros and Cons of Using a Child Theme
Pros
✅ Full Control: You can customize the header layout, add extra elements, or adjust styles freely.
✅ Preserves Changes: Your modifications stay intact, even when the parent theme updates.
Cons
❌ Requires Some Coding Knowledge: You need a basic understanding of PHP, HTML, and CSS.
❌ Takes More Time: Setting up and managing a child theme requires extra effort compared to other methods.
If you want long-term customization and complete control over your header’s appearance, using a child theme is the best solution. However, other methods may be more convenient if you’re looking for a quicker approach.
Method #5: Add 2 Lines of Text in WordPress Header Using the Theme Customizer
The easiest way to add two lines of text to your WordPress header is by using the built-in WordPress Customizer. Many themes provide options to modify the header text without editing code, making this method ideal for beginners.
Follow these steps to customize your header text effortlessly.
1. Open the WordPress Customizer
- From your WordPress dashboard, navigate to Appearance > Customize.
- This will open the WordPress Customizer, where you can modify different sections of your theme.

2. Find the Header or Site Identity Settings
- Look for a section named Site Identity, Header Settings, or Logo & Title (the name may vary based on your theme).
- This section usually contains fields to edit the Site Title and Tagline.
3. Edit the Site Title
- Enter your main header text in the Site Title field.
- This is typically your website’s name or business name.
4. Add the Second Line of Text
- Use the Tagline field to add a second line of text, such as a slogan, contact details, or promotional message.
Some themes support line breaks. If pressing Enter doesn’t create a new line, try adding <br> in the text field like this:
First Line of Text <br> Second Line of Text
5. Preview and Publish
- Check the preview to see how the text appears in your header.
- If it looks good, click Publish to save the changes and make them live.
This method works well for most themes and lets you modify your header text without any coding. If your theme doesn’t support multi-line text, you may need to try other methods.
Check this out 👉 9 Best Full Site Editing Themes for WordPress
Pros and Cons of Using WordPress Theme Customizer
Using the WordPress Theme Customizer to add two lines of text to your header is a quick and straightforward approach. However, like any method, it comes with advantages and limitations.
Pros
✅ User-Friendly Interface: The Customizer is designed for ease of use, making it accessible even for those without technical or coding expertise. You can quickly navigate through options and see real-time changes.
✅ Wide Theme Compatibility: Most WordPress themes include built-in support for the Customizer, allowing you to modify header text without switching themes or installing additional tools.
✅ Quick and Efficient: For basic text adjustments, the Customizer provides a fast way to update your header. You can make changes and publish them in just a few clicks.
Cons
❌ Limited Customization Options: While the Customizer is convenient, it often restricts advanced design choices. You may not have full control over font styles, spacing, or alignment for the header text.
❌ HTML Restrictions: Some themes do not support HTML tags like <br> in the tagline or site title fields. This can make it challenging to format multi-line text effectively.
❌ Theme Dependency: The functionality and flexibility of the Customizer depend on your theme. If your theme lacks robust header customization options, you might find this method too restrictive.
Despite these limitations, the WordPress Theme Customizer remains a reliable and simple way to update your header text. It’s an excellent choice for quick edits, but if you need more advanced customization, you may want to explore other methods like plugins or custom CSS.
Want to change the font in WordPress? Check this out 👉 How to Add Custom Fonts to WordPress Block Themes in Theme.JSON
To Sum It Up
Knowing how to have 2 lines of text in WordPress header helps you create a more engaging and informative design. Whether you’re adding a tagline, promotional message, or contact details, this customization enhances your site’s appearance and improves user experience. The method you choose depends on your expertise and customization needs.
Key Takeaways:
- For beginners: The WordPress Customizer or a plugin offers a quick and easy solution without coding.
- For more flexibility: Using HTML in your Site Identity settings allows better text formatting.
- For advanced customization: A child theme lets you modify the header structure while keeping changes intact.
- For full design control: Page builder plugins like Elementor give you complete creative freedom.
Each method has its own advantages, so pick the one that works best for your website.
Which method do you prefer for adding two lines of text to your WordPress header? Let us know in the comments below!

![How to Have 2 Lines of Text in WordPress Header [5 Easy Ways] How to Have 2 Lines of Text in WordPress Header](https://www.wpdisc.com/wp-content/uploads/2025/02/how-to-have-2-lines-of-text-in-wordpress-header-1024x520.png)


![How to Clone My Website to a Second URL [9 Easy Steps] How to Clone My Website to a Second URL [9 Easy Steps]](https://www.wpdisc.com/wp-content/uploads/2025/01/how-to-clone-my-website-to-a-second-url-1024x520.png)
Leave a Reply